
Search engines are great for driving organic traffic to your tour website. Whether someone is planning a family vacation or mid solo travelling, they’re using search engines to find places to stay and activities to do. But they don’t often search beyond the first page of results. If you want to rank higher and capture a traveler’s attention, you need to optimize web pages for SEO.
What is SEO?
Is this another Millennial term like FOMO or YOLO? I promise you, it doesn’t mean send everyone over, sail every ocean or start eating Oreos. Those are amazing variations, but SEO means search engine optimization — if the others start trending, I take full credit.
SEO helps a web page rank on a search engine results page (SERP — another fun acronym for you to remember). A search engine sends spiders to crawl a website and determine whether a page’s content is relevant to a user’s search queries. It then indexes the page based on the assigned value.
Here is an example to break down how SEO works:
- A traveler wants to rent a paddle board in Victoria. They’ll use the search query paddle boarding Victoria.
- Google has indexed pages relating to paddle boarding in Victoria.
- On the results page, the search engine will display a list of all the relevant pages having to do with the traveler’s search.
- The pages that are ranked highest will appear first.
There are various factors that determine the ranking of a web page — including the number of site views, dwell time, bounce rate, authoritative links, etc.
All of these are essential to keep in mind. But the first step you must take is to clearly describe what you do. On your website, this means the following should include keywords relating to your business:
- Title
- URL
- Meta-description
- Headers
- Image alt-text
- Body text
In reference to paddle boarding, you’d use the keyword paddle board. That way, when the spiders crawl, they’ll know your website is a paddle boarding business and will rank you for relatable search queries.
This is how Site Builder helps with SEO
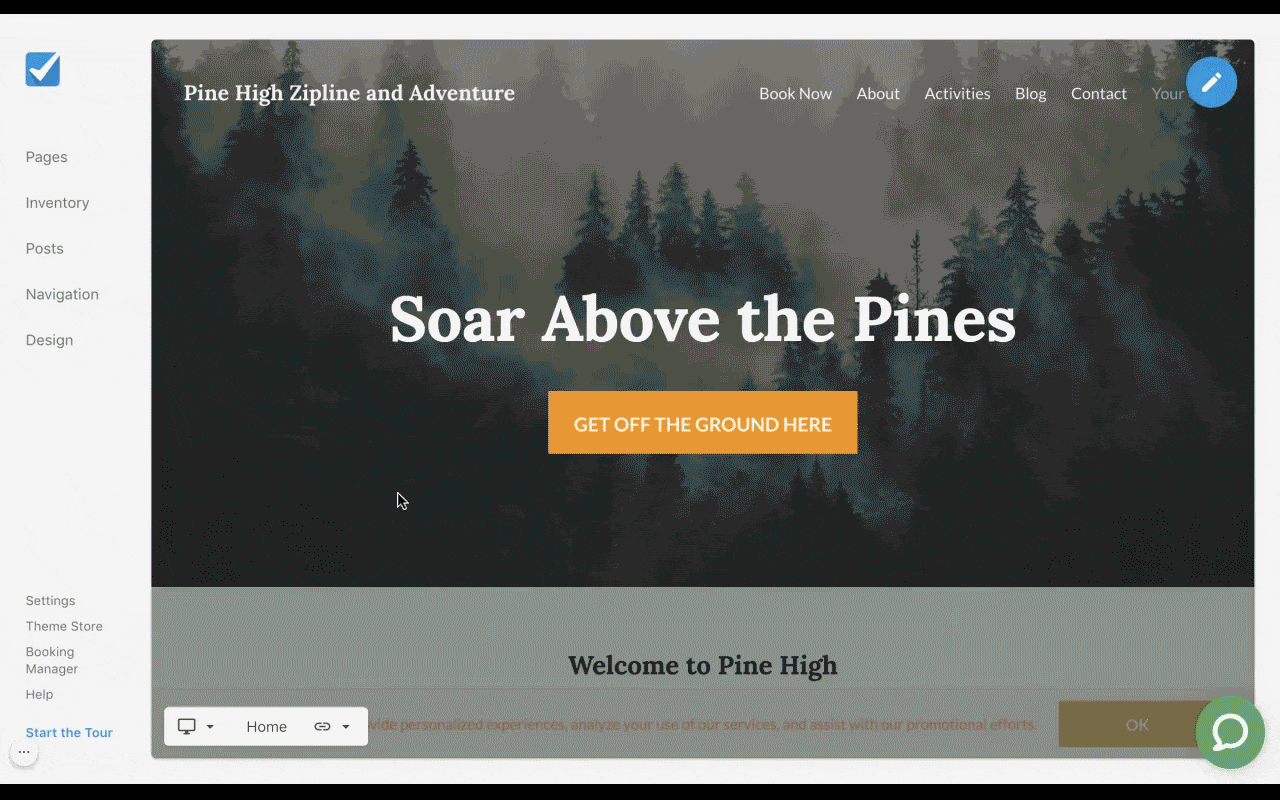
Whether you’re currently using Site Builder or are interested in its design capabilities, you’ll be happy to know Site Builder comes baked in with features to improve your SEO and help you avoid common SEO problems. I’ll explain how the features work and show you how to customize them.
Slug/URL
A search engine’s crawl begins with the web page’s URL. Site Builder comes with default inventory and category pages and forms the slug the following way:
Company name/inventory/item-name
Company name/category/category-name
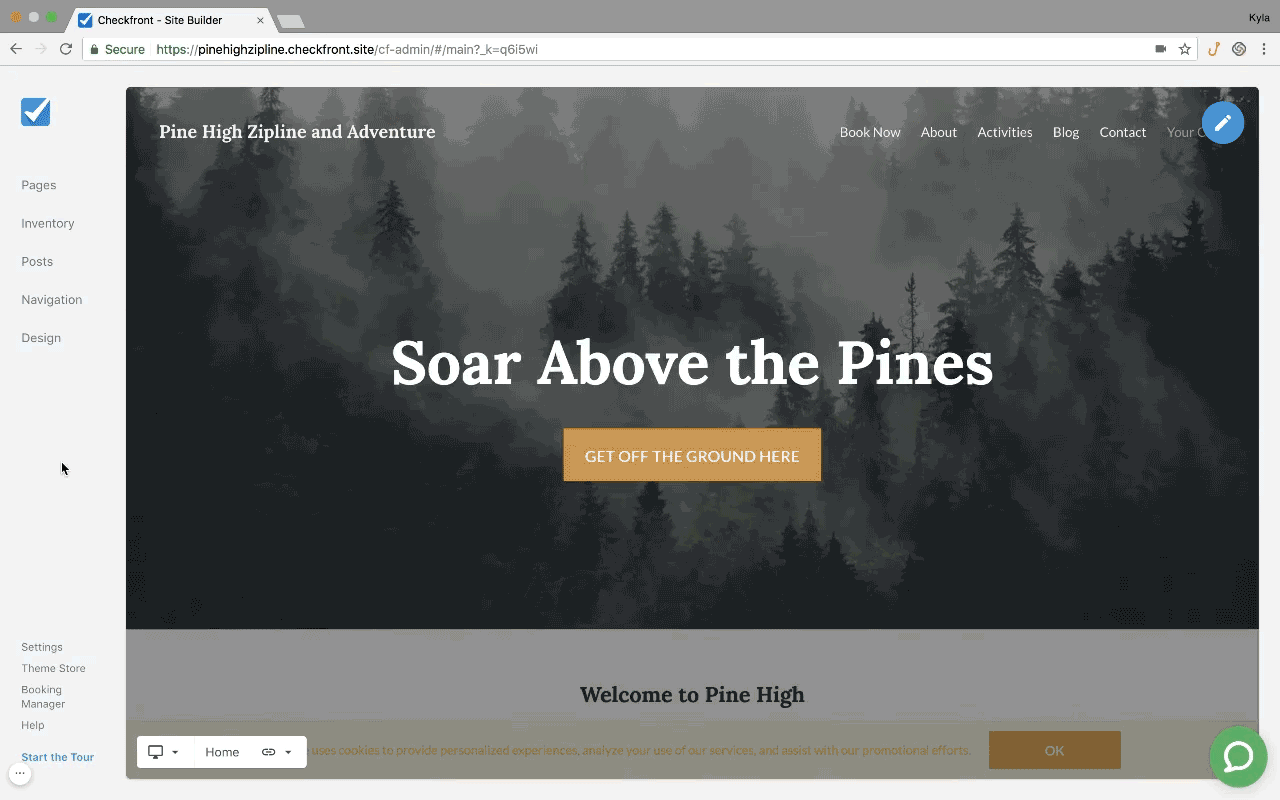
Let’s take a look at the slugs for a demo account I’ve created with Checkfront:
pinehighzipline.checkfront.site/inventory/zipline-tour
pinehighzipline.checkfront.site/categories/adventure-tours
Please note, the default URL includes checkfront.site. If I were to buy a domain name for Pine High Zipline, they would look like this:
pinehighzipline.com/inventory/zipline-tour
pinehighzipline.com/categories/adventure-tours
As you can see, the company name is Pine High Zipline and the item name is Zipline Tour. As for my category page, the last part of the URL is my category name, Adventure Tours. Each of the elements in the URL are set by default based on the names I assigned in Booking Manager.
So when you’re naming categories and items for your tours, remember they’ll be used in your URL on Site Builder. And since SEO is based on the URL, you’ll want the category and item name to include keywords you want to rank for — like zipline or adventure tours.
In the URL, you can’t change inventory or category, but you can change the item and category name at any time. To do this, follow these steps:
- Select Inventory on the Main Menu of Site Builder
- Choose a Category
- Click on the Gear Icon next to any of the Items or Categories you want to change
- Place your cursor in the slug field and type the new name
Keep in mind, slugs won’t automatically update if you change the name of your items and categories in Booking Manager. If you don’t want the original to remain, you’ll have to execute the above steps.
Page title
In Site Builder, each page name has a default page title following this pattern:
Item name – company name – city – province

You may be wondering, “why does the page title include the location?” Well, a traveler searches for lodging or activities by entering the location in the search query. As I mentioned above, anyone wanting to paddle board in Victoria will likely include Victoria to narrow the search.
If they don’t, search engines, like Google, will use location services to find relevant results in the area. Otherwise, the traveler would receive a long list of paddle boarding businesses all across the world — and nobody has time to sift through all of that.
You want search engines to know the location of your tour business to help you match with travelers (or even locals) looking for fun things to do in the area. Without the location, search engines wouldn’t know where you are — and neither would any potential customers.
Meta-description
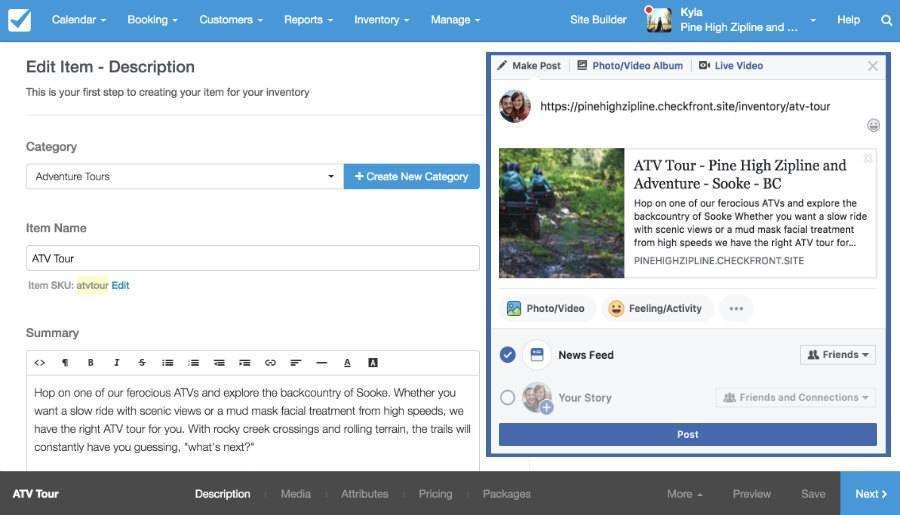
A meta-description is a short summary of a page’s content. It appears under the page title on the search engine results page. When someone scrolls down the list, they’ll read the meta-description to get a better understanding of what the page is about before clicking through.
For each page, Site Builder pulls the meta-description from the Item Summary in Booking Manager. And for the overall site, it uses the header text on Site Builder’s Book Now page.
In other words, when you’re creating an item in Booking Manager, remember the Item Summary will default as the meta-description for that tour’s page. Likewise, the header text you input while building your site will be used as the main site description.
Since the meta-description is important for a web page’s SEO, Site Builder fills this automatically. But if you want to customize further, you can easily do so (see below for more information).
How to customize Site Builder’s SEO tools
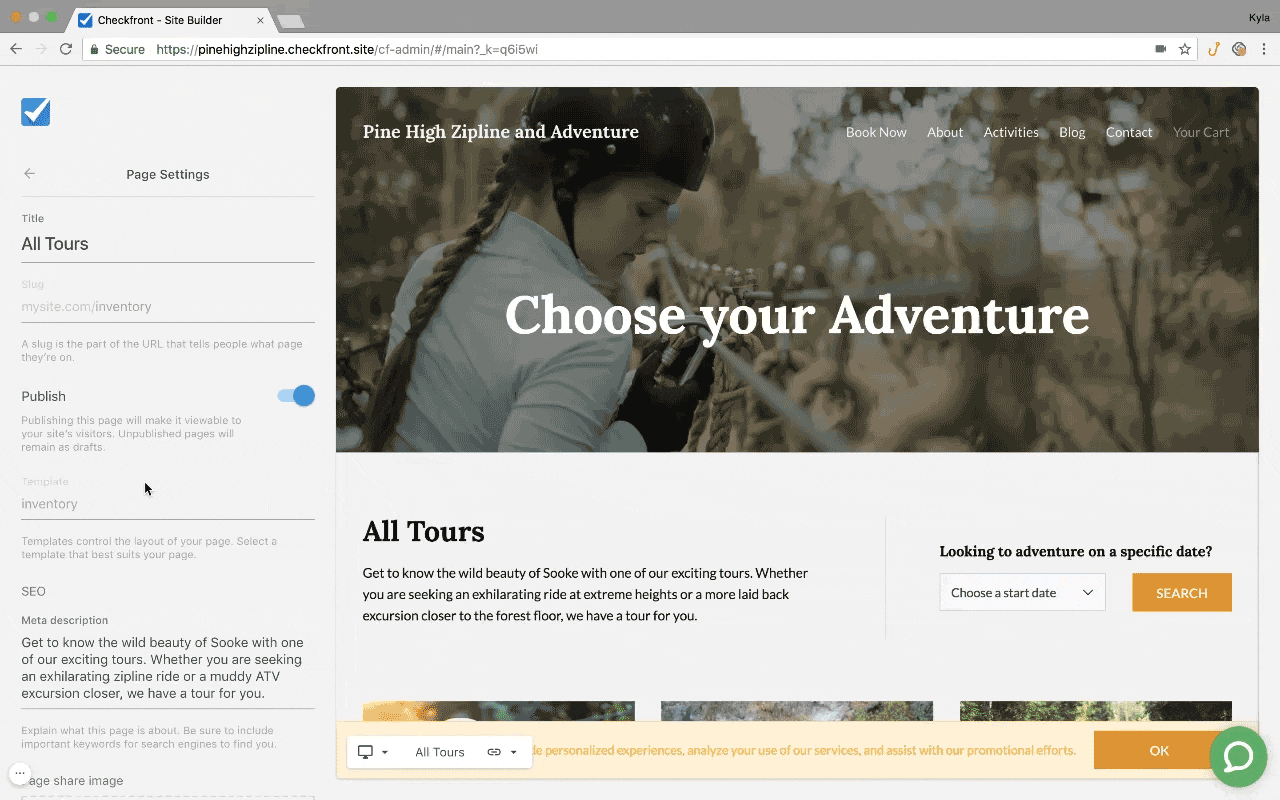
Site Builder allows for customization. You can edit SEO settings on a page to page basis — except for the cart page. If you want to change any of the above defaults, as well as the page share image, you can do so in Page Settings on Site Builder.
A traveler might share your tour pages on their social media accounts or send it to their fellow travellers when planning. When someone shares your link, you’ll want a relevant image to appear with a short description. Here’s how to edit the meta-description and add a share image to each of your item and category pages.
Page meta-description
As I mentioned, Site Builder uses the Item Summary as the default meta-description. But if you wish to write up something more enticing — a tour description that is creative, clear and SEO friendly — follow these steps:
- In Site Builder, click on Pages in the left sidebar menu
- A list of your pages will appear. Select the one you’d like to make changes to
- Under SEO, type in your meta-description
Page share image
Here is how to add a Page Share Image — which is important to do because images attract attention:
- Under the field where you entered your meta-description, you’ll find the Page Share Image
- Click in the square and choose a photo to upload from your computer
- Remember to save! Click on the blue Update button at the bottom
Make sure you add a Page Share Image to all your item and category pages — and don’t forget the homepage. If someone shares your homepage with a friend instead of your specific item pages, you’ll want a meta-description and image that covers everything your business offers.
The process for changing your homepage SEO settings is a little different. You’ll want to follow the steps below:
Homepage share image
- Click on Settings in the left sidebar menu on Site Builder
- Go to SEO & Marketing
- Upload your Default Share Image
- Click Update to save
Site wide, this will also be the default share image. So if you forget to add an image for any of your tour pages, this one will appear.
Homepage meta-description
If you don’t want the default header text displayed as your meta-description follow these steps:
- In Settings again, go to Site Details
- Type up your description in the box under Site Description
- Click Update to save
Site Builder has your back when it comes to SEO, but there are still changes you are required to make. After following the above steps, take comfort in knowing search engines can figure out what your website is about and will rank you for it.
Ready to start using Site Builder to improve your SEO?

Start your free 21-day trial!
Online bookings. Flexible pricing. Outstanding support.